For you convenience I have created a starter script. This script will:
This presumes that your device supports and has enabled virtualization. If not see your motherboard or device manual on how to enable it.
It is also theoretically possible to run the Windows VM on a different machine (through the same docker setup, or even potentially a hypervisor like proxmox), e.g. a server. This can help with performance and local machine resources. This script will not help with that you will have to find an external tutorial for that.
The script takes the instructions from this and the main win apps tutorial part of the setup and tries to make it as automatic as possible.
To view the script click here.
Note, I am not a professional bash script writer, things could definitely be better, but it works and is easy to use. It is not the most secure and flexible, but it is an easy starting point for most people. You can always download the script and edit it to your liking, or just run the commands in the script manually.
Either run in the terminal:
curl -fsSL https://wai.gladiatorsas.me/setup.sh | bash
which will default the VM to use 4 cpu cores and 4GB of RAM,
To change run
curl -fsSL https://wai.gladiatorsas.me/setup.sh?CPU_CORES=2&RAM_SIZE=8G | bash
which makes the VM use 2 cpu cores and 8GB of RAM, you can change the numbers to suit your needs.
OR download it:
curl -fsSL -o winapps-setup.sh https://wai.gladiatorsas.me/setup.sh
and edit using nano, or your favorite text editor to edit the username and password this setup will give the windows virtual machine. After editing run it using:
sudo chmod +x setup.sh
./setup.sh
You will have to run the script twice as it needs to install Docker and change user permissions which require either a log-out or restart.
After the restart just re-open the terminal and re-run the same command.
After the script has finished open a new terminal (or run source ~/.bashrc). This is because the convenience script creates aliases and the terminal needs to be reset for them to appear.
| Command | Description |
|---|---|
| winvm-start | Start the Windows VM container |
| winvm-pause | Pause the Windows VM container |
| winvm-unpause | Unpause the Windows VM container |
| winvm-restart | Restart the Windows VM container |
| winvm-stop | Stop the Windows VM container |
| winvm-kill | Force kill the Windows VM container |
| winvm-create | Create and start the Windows VM container in detached mode |
| winvm-logs | Show logs for the Windows VM container |
| winvm-rdp | Connect to the Windows VM via RDP |
| winvm-help | Show this help message |
In your new terminal run
winvm-help
Just to make sure that the aliases are working.
Then run:
winvm-create
This will start the installation process for the Windows VM. This process can take a while (somewhere between 10 minutes and 1 hour)
To keep an eye on things you can run
winvm-logs
To see what it is doing.
If you see Windows started succesfully you can go to http://localhost:8006 in the browser to see either the current process of the install or if you see the desktop go to the next step.
To test rpd (which is required for win apps to work)
winvm-rpd
Which will test the rpd connection to the vm which is how it runs applications natively (also known as magic)
This should pop up the Windows desktop in a new window and is just using remote desktop. You can also use this to install office if you want and will probably be smoother than using localhost:8006 in the browser
If there is a problem that mentions certificates or a Warning view a troubleshooting step in the main tutorial
My convenience script should deal with this so shouldn't be a problem in theory.
When you first reach the desktop, either through rdp or the browser, there should be a terminal that pops up.
Follow the instructions, and it will do magic win apps configuration.
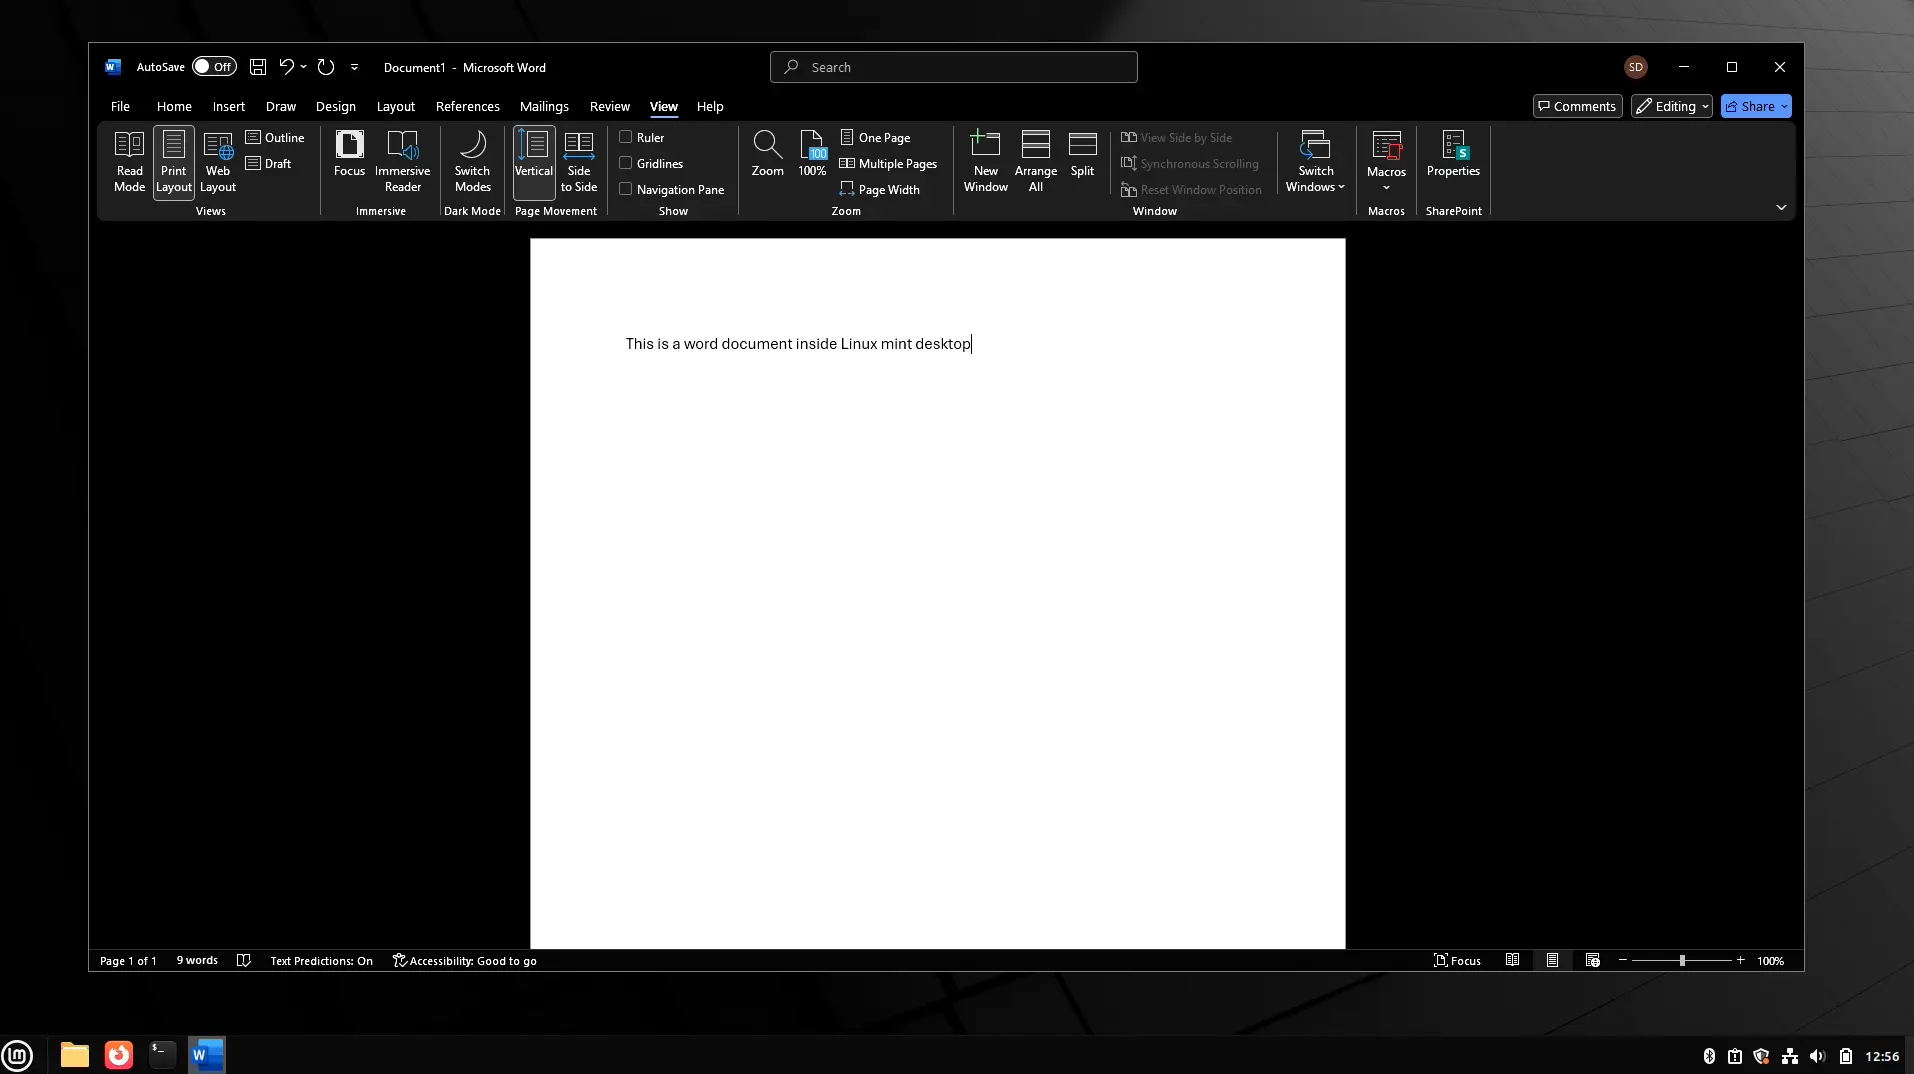
Since this version of Windows 11 does not have a browser installed, you will need to install office differently.
Because of this I have included a script that will install office for you using the download link from Microsoft's website. It is
located at C:\OEM and run the file install-office.bat.
If neither option works, sorry, you will have to get the installer yourself, which is difficult because of not having a browser.
Wait for office to finish installing before continuing. This can take a while depending on the VM settings, internet and the physical machine.
You might also want to open the applications and follow any pop-ups, e.g. signing in to office. I found that when installed through winapps it does not show popups and will seem like the application is frozen.
Before running the winapps installer, make sure that you have the Windows VM running and that you have no RDP connections open to it.
For the main tutorial go here
It should be as easy as going to a terminal (on the linux desktop) and running:
bash <(curl https://raw.githubusercontent.com/winapps-org/winapps/main/setup.sh)
and then following the instructions.
When you get to Automatically install supported applications or choose manually> make sure to choose manual. You can also just press enter three times.
After the blue selection screen it wil do some checks. If it fails saying it cannot connect to windows through rdp run the command:
rm -r ~/.config/freerdp
Afterwards continue until it asks:
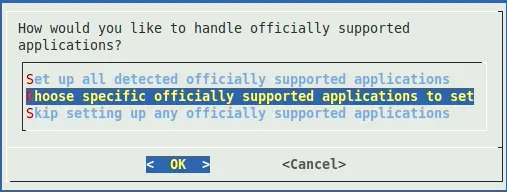
How would you like to handle officially supported applications?
Choose the second option:
Choose specific officially supported applications to set
This will just avoid bloat of other applications that you may not want to use.
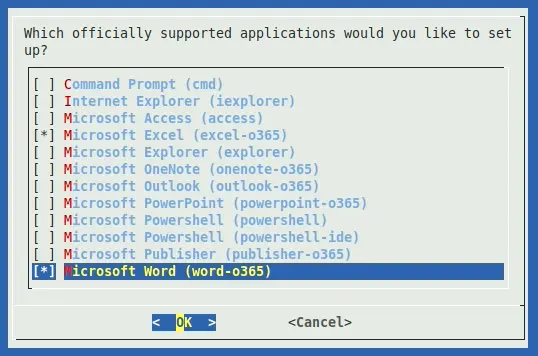
Choose the applications you want to use with spacebar (DO NOT USER ENTER, that will go to the next step).
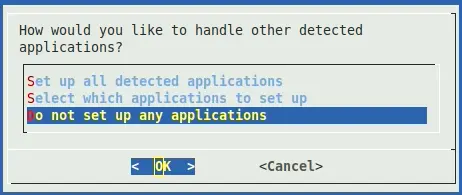
On the How would you like to handle other detected applications? screen, you can probably choose:
Do not set up any applications
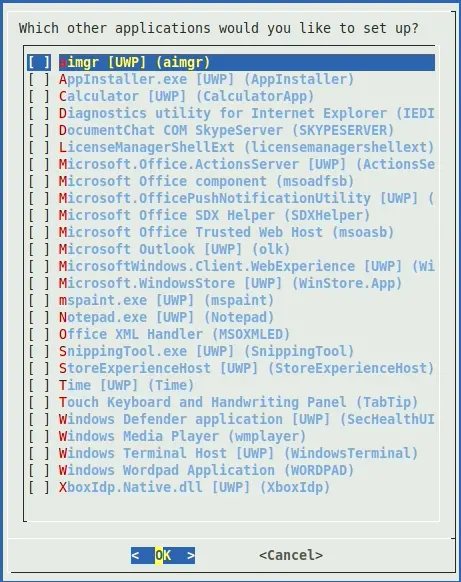
Feel free to have a look at the other application but most probably aren't wanted. For example these were what was listed for me:
After that you should be done with the setup, and should be able to see that apps that you selected inside the linux menu and winapps is successfully installed.
Once WinApps is installed, a list of additional arguments can be accessed by running winapps-setup --help
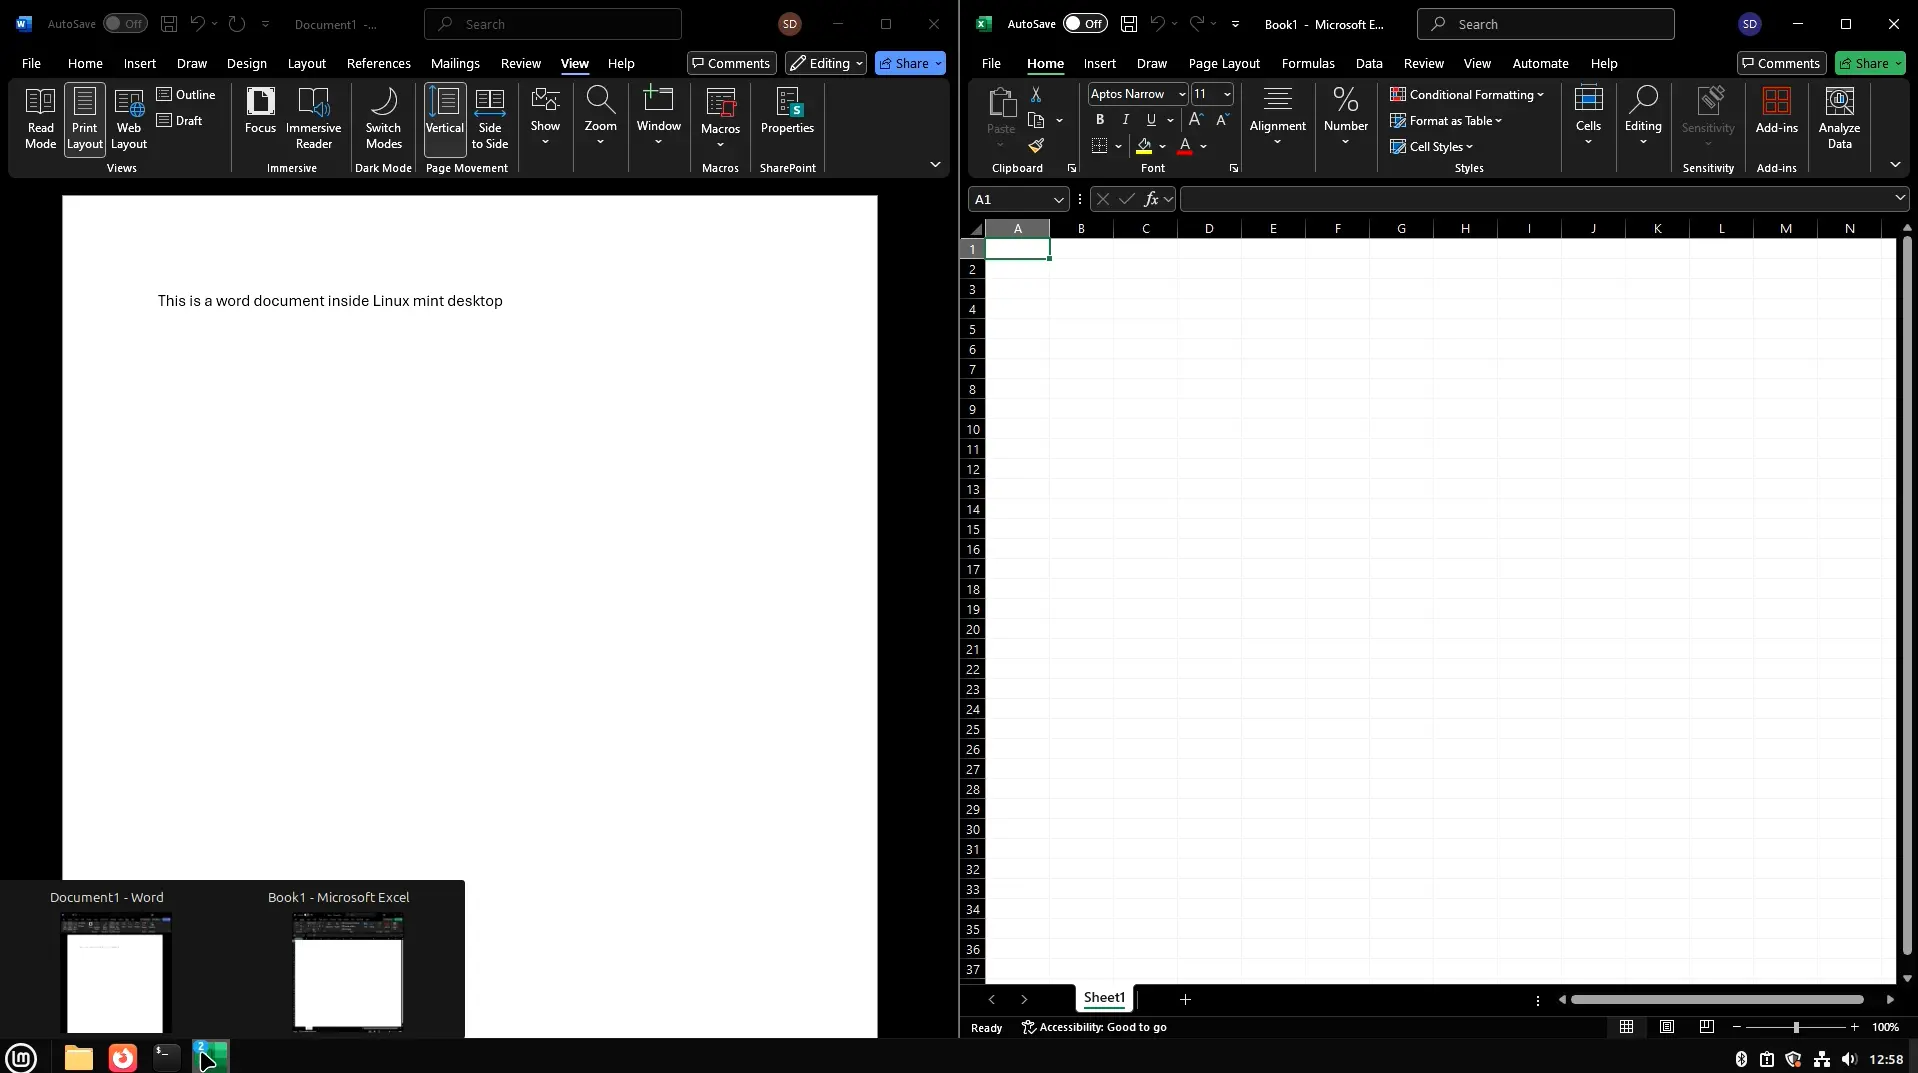
It is very janky, the opening and moving of windows is not smooth and the windows things might show through at times. It does not seem to be able to handle multiple applications open as different apps, so if you for example open Word and Excel, it will only show one as one application in the taskbar.
Also after shutting down the main computer, it might take a minute or two for windows programs to start up again.
If there are problems, like the window appears frozen you can get to the full desktop by running the windows application, which will launch it through rdp, or by running winvm-rdp in the terminal. Note this will close all applications and open the Linux desktop.
You might need to do this if the application pops something up that win apps does not display. Just launch rdp and open it on there to see what it does.
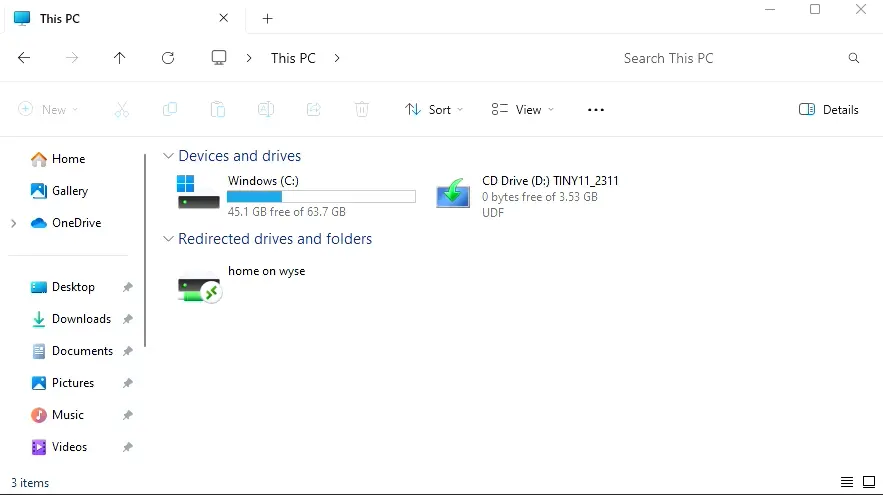
To access your files from your home linux directory, for my testing I had an item in This PC called home on wyse (wyse was the hostname of my linux machine), which was a link to the home directory of the user on the linux machine.
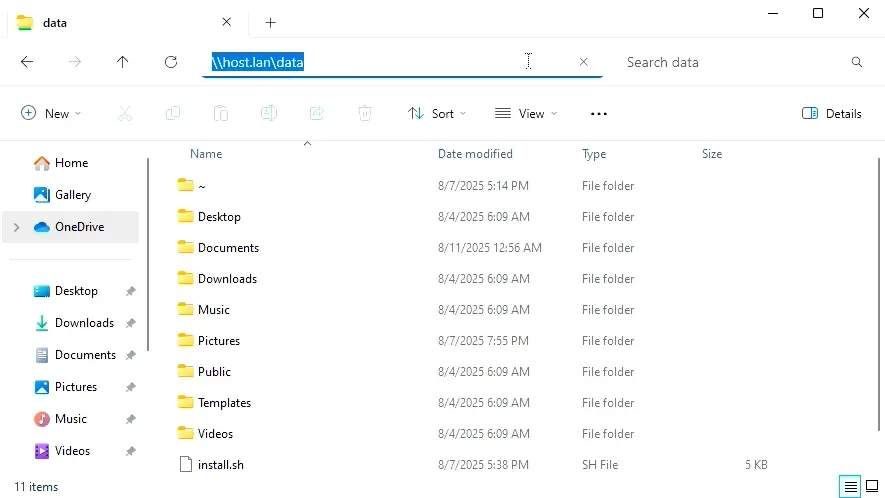
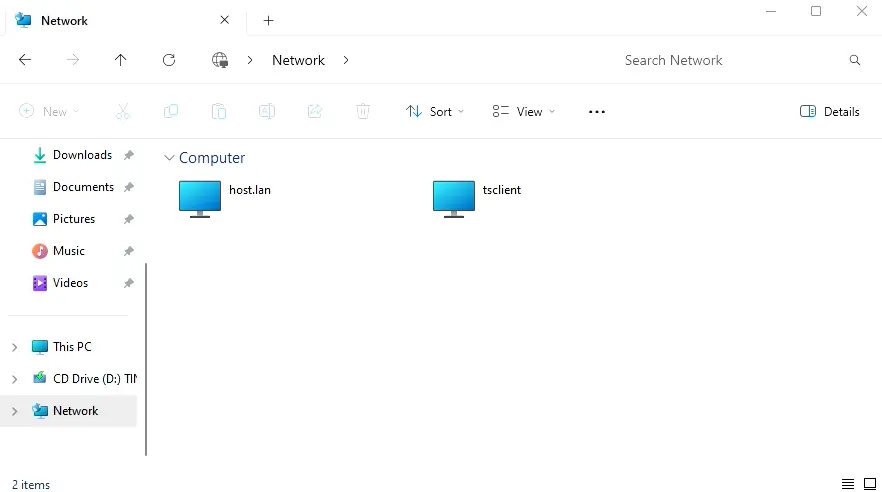
Otherwise, you can type in \\host.lan\Data\ in the address bar, or go to the Network section in the file explorer and find links to the home directory there.
If you have a compatible file on your linux machine, you should be able to choose open in winapps program and it should open in the windows application, e.g. a .docx file should open in Word, or a .xlsx file should open in Excel.
My setup was running on a passively cooled mini pc from 2018 with a 4 core AMD non ryzen CPU with 12GB of DDR3, with a capture card as my display running through OBS on my main system. There was some lag and delay but still usable if you are patient. Running this on a natural display on a more powerful system should be much better.
If you want to try increase the performance of the VM by giving it more CPU cores or RAM, presuming you ran the convenience script, you can run:
nano ~/.config/winapps/vm/docker-compose.yml
Then find the lines:
    environment:
      ...
      RAM_SIZE=4G
      CPU_CORES=4
The numbers here might be different depending on what you set in the convenience script
Change the numbers to what you want, e.g. RAM_SIZE=8G and CPU_CORES=8 to give it 8GB of RAM and 8 CPU cores, allowing the VM to use more of the host system's resources.
The RAM_SIZE must end with a G for gigabytes or M for megabytes, e.g.
RAM_SIZE=8GorRAM_SIZE=8192MThe CPU_CORES must be a number and cannot be a decimal, e.g.CPU_CORES=8
then run:
winvm-stop
winvm-create
winvm-stop can potentially take a while, as it sends a shutdown signal, so is the same thing as shutting down a computer from the start menu.
This will recreate the VM with the new settings, all of your data will be kept.
On laptops this would probably make the system run hotter and use more battery, so keep that in mind. If Windows apps are not being used you can always stop the VM using winvm-stop to save resources, and then running winvm-start when you want to use them again.
If you try launch a windows application and the vm is not running, it will try automatically start the VM and then launch the application, but that did not work in my testing, and I'm not sure why, so just stick to running winvm-start.
winvm-pause and winvm-unpause are alternatives, and will freeze the windown VN, it should still free up resources, but any open applcations will freeze and not be usable until unpaused.
To install new applications, you actually have to uninstall winapps first, then run the installer again.
winapps-setup --user --uninstall
Then re-run the installer:
bash <(curl https://raw.githubusercontent.com/winapps-org/winapps/main/setup.sh)
and follow the instructions again, making sure to select the applications you want to install.
You should not have to touch the Windows VM for this step.
Presuming you used the convenience script, you can run:
curl -fsSL https://wai.gladiatorsas.me/purge .sh | bash
This will remove the winapps configuration, the aliases and the docker container, the Windows VM all the configuration and files related to it. It will not uninstall Docker.
NOTE: You will lose all data in the Windows VM, so make sure to back up anything you want to keep from Windows before running this command. This will also remove everything in .bashrc starting from where the convenience script started adding aliases to the end of the file, so if you have added anything to .bashrc after running the convenience script, they will be removed as well.
If you just want to remove winapps, you can run:
winapps-setup --user --uninstall
This will remove all the applications. The configuration files will still be there, winn apps source code, freerdp certificates, aliases, and the Windows VM will still be there.
If you have any issues with this tutorial or any of the scripts, please open an issue on my git Custom Winapps Tutorial